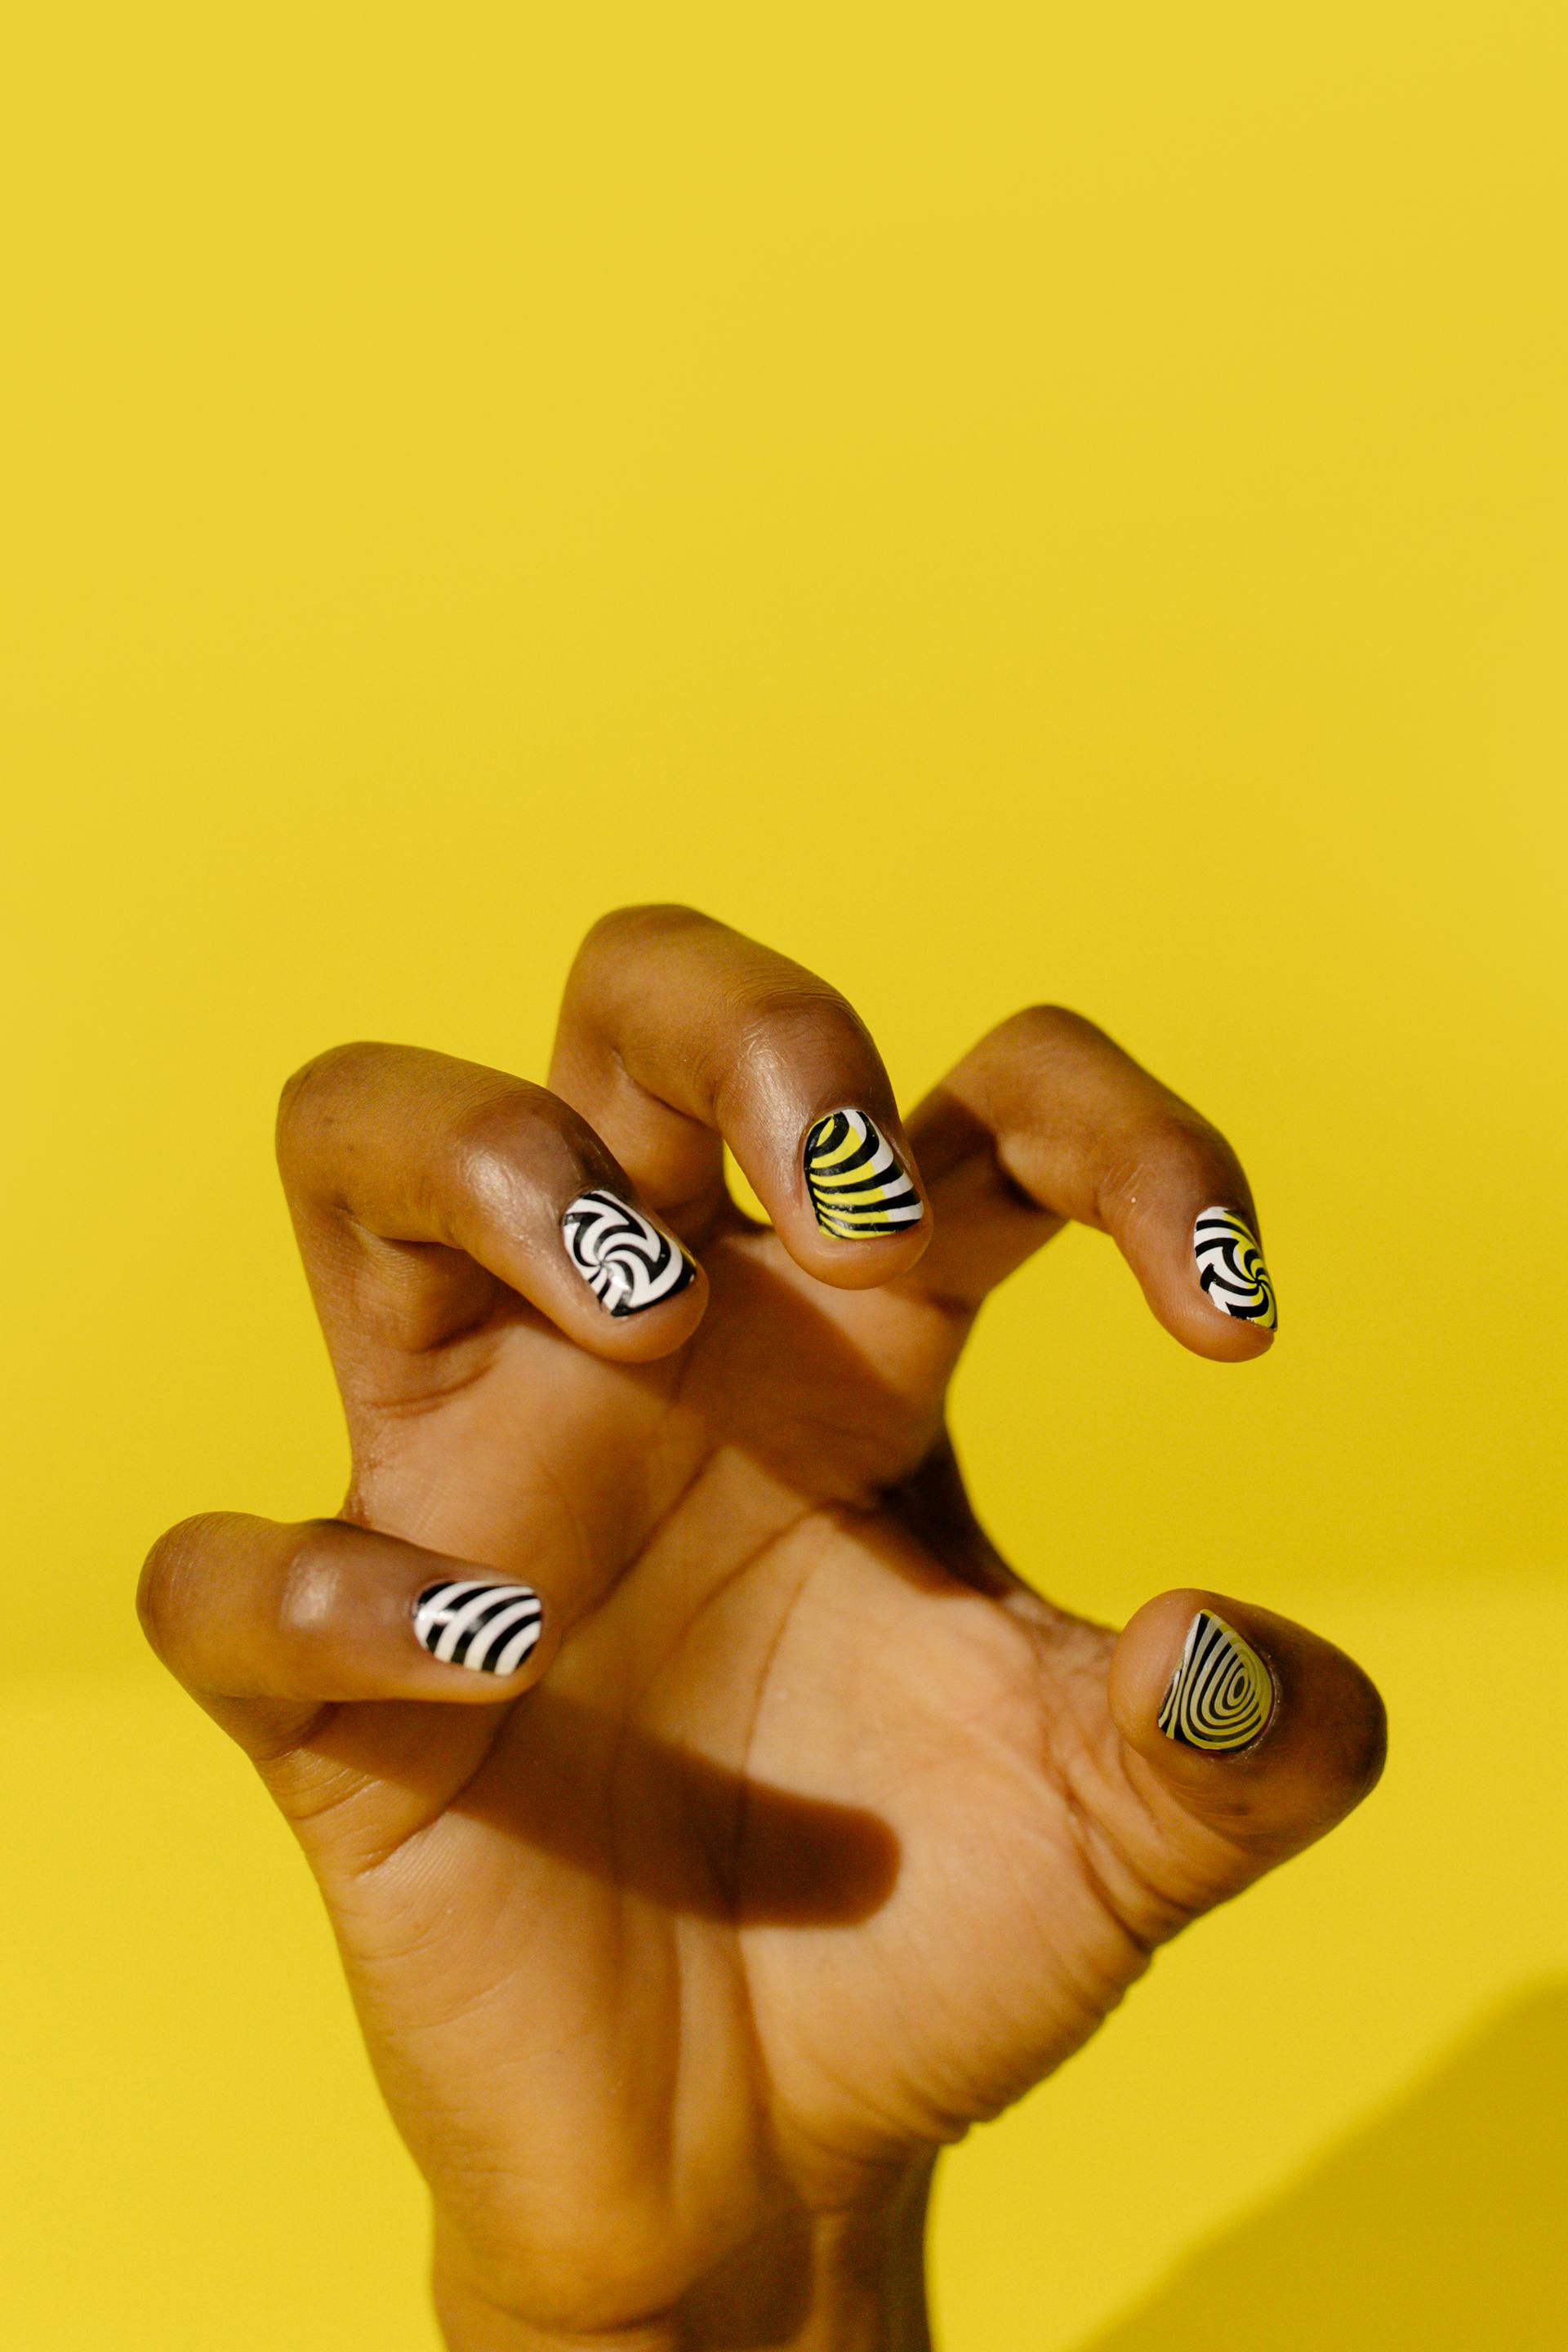
Crafting intricate nail art designs is an art form that allows creativity to flourish at your fingertips. Have you ever wanted to master the skill of creating stunning nail art tutorials that captivate attention and inspire awe? Join us on a journey through the world of nail art tutorials, where we unveil essential techniques, advanced tips, and troubleshooting strategies to elevate your nail artistry to new heights. Whether you're a beginner or a seasoned nail artist, there's always something new to learn and explore in the realm of nail art tutorials.
The Basics of Nail Art Tutorials
Creating stunning nail art designs begins with mastering the basics. Whether you're a beginner or a seasoned nail artist, understanding fundamental techniques is essential for perfecting your craft.
Tools and Supplies You Need
To embark on your nail art journey, gather the following essential tools and supplies:
-
Variety of nail polishes in different colors and finishes
-
Nail art brushes for detailed work
-
Dotting tools for creating intricate designs
-
Nail striping tape for clean lines
-
Nail studs, rhinestones, and other embellishments
-
Top coat and base coat for long-lasting designs
Preparing Your Nails for Art
Before diving into nail art tutorials, ensure your nails are prepped and ready:
-
Start by shaping and filing your nails to your desired length and shape.
-
Push back your cuticles gently to create a clean canvas for your designs.
-
Apply a base coat to protect your natural nails and help the nail art last longer.
-
Choose a nail polish color as your base and let it dry completely before proceeding with the design.
Essential Techniques for Nail Art Designs
Mastering nail art designs requires a solid foundation in essential techniques. Explore the following key methods to elevate your nail art game.
Step-by-Step Guide to Creating Patterns
Follow these steps to create intricate patterns on your nails:
-
Start with a base coat to protect your nails.
-
Apply the base color and let it dry completely.
-
Use nail art brushes to draw detailed patterns such as flowers, geometric shapes, or stripes.
-
Experiment with layering colors to add depth to your designs.
-
Finish with a top coat to seal the design and add shine.
Nail Art Using Stamping Techniques
Stamping is a popular technique for creating detailed designs with ease. Here's how to nail the stamping process:
-
Choose a nail stamping plate with your desired design.
-
Apply nail polish to the design on the plate.
-
Use a scraper to remove excess polish and transfer the design to a stamper.
-
Press the stamper onto your nail to transfer the design.
-
Seal with a top coat for a flawless finish.
Advanced Nail Art Tutorials for Stunning Designs
Take your nail art skills to the next level with advanced tutorials that will help you create truly stunning designs.
Incorporating 3D Elements Into Your Nail Art
Adding three-dimensional elements to your nail art can enhance the visual impact of your designs. Here's how you can incorporate 3D elements:
-
Use nail glue to attach gems, pearls, or charms to your nails.
-
Experiment with textured powders or acrylics to create raised designs.
-
Opt for pre-made 3D nail art stickers for an easy yet striking look.
Mastering Ombré and Gradient Effects
Ombré and gradient effects are popular nail art techniques that create a beautiful transition of colors. Follow these steps to master these effects:
-
Choose two to three complementary nail polish colors.
-
Apply the lightest color as the base coat and let it dry.
-
Use a makeup sponge to dab on the other colors in a gradient effect.
-
Blend the colors seamlessly to create a smooth transition.
-
Finish with a top coat to seal the gradient design.
Nail Art Tutorial Galleries for Inspiration
Discover a wealth of inspiration and innovative designs in these nail art tutorial galleries to fuel your creativity.
Trending Designs and Styles to Try
Stay ahead of the curve with these trending nail art designs and styles:
-
Minimalist Nail Art: Embrace clean lines and simple yet chic designs.
-
Abstract Nail Art: Experiment with bold colors and geometric shapes for a modern look.
-
Negative Space Nail Art: Play with the balance of bare nails and intricate designs.
-
French Tip Remix: Put a twist on the classic French manicure with creative variations.
Seasonal Nail Art Ideas and Tips
Celebrate the changing seasons with these seasonal nail art ideas and tips:
-
Spring Florals: Incorporate delicate flower designs for a fresh spring look.
-
Summer Brights: Opt for vibrant colors and tropical motifs for a summery vibe.
-
Autumn Leaves: Embrace warm hues and leaf-inspired patterns for a cozy fall feel.
-
Winter Wonderland: Add glitter and snowflake designs for a festive winter touch.
Maintaining Your Nail Art Masterpieces
Ensuring the longevity and vibrancy of your nail art designs is crucial. Discover essential tips and techniques to maintain your beautiful creations.
Tips for Long-Lasting Nail Art
Follow these tips to make your nail art last longer and stay flawless:
-
Apply a top coat every few days to seal and protect your design.
-
Avoid exposing your nails to harsh chemicals or excessive water.
-
Wear gloves while doing chores to prevent chipping and damage.
-
Be gentle on your nails and avoid using them as tools to prevent breakage.
-
Moisturize your nails and cuticles regularly to keep them healthy and strong.
Removing and Refreshing Your Designs
When it's time to switch up your nail art, follow these steps to remove and refresh your designs:
-
Soak a cotton pad in acetone-based nail polish remover.
-
Place the cotton pad on your nail and wrap it with aluminum foil to let it soak.
-
Gently rub off the nail polish once it softens and loosens.
-
After removing the old design, trim and shape your nails as needed.
-
Apply a new base coat and start creating your next nail art masterpiece.
Troubleshooting Common Nail Art Issues
Encounter common nail art problems? Learn how to troubleshoot and resolve issues to ensure your nail art creations look flawless every time.
How to Fix Smudges and Imperfections
If your nail art gets smudged or doesn't turn out as expected, try these solutions:
-
Quick Fix: Dip a small brush in nail polish remover and gently clean up smudges.
-
Smoothing Out: Apply a thin layer of top coat to even out imperfections.
-
Design Enhancement: Turn smudges into intentional design elements or add glitter to cover mistakes.
Preventing Nail Art Chipping and Peeling
To prevent your nail art from chipping or peeling prematurely, follow these preventative measures:
-
Proper Application: Ensure each layer of polish is fully dry before applying the next.
-
Seal the Edges: Apply the top coat along the edges of your nails to seal and protect the design.
-
Avoid Water Exposure: Minimize prolonged exposure to water to prevent chipping.
-
Touch-Ups: Keep a small nail art kit handy for quick touch-ups to maintain your design.
Nail Care Tips to Support Your Artistry
Healthy nails form the foundation for stunning nail art designs. Explore essential nail care tips to maintain the health and beauty of your nails.
Nail Health and Maintenance Practices
Prioritize the health of your nails with these care practices:
-
Keep Your Nails Clean: Regularly wash your nails and dry them thoroughly to prevent bacterial growth.
-
Moisturize Your Cuticles: Use cuticle oil or cream to keep your cuticles hydrated and prevent cracking.
-
Nail Trimming: Trim your nails regularly and shape them to your desired length to prevent breakage.
-
Avoid Harsh Chemicals: Limit exposure to chemicals in cleaning products and opt for gloves when handling them.
Best Practices for Healthy Cuticles and Nail Beds
Ensure your cuticles and nail beds are in top condition with these best practices:
-
Gentle Cuticle Care: Push back cuticles gently after a shower when they're soft to prevent damage.
-
Hydration: Stay hydrated to maintain nail and cuticle health from the inside out.
-
Vitamin-Rich Diet: Include vitamins and nutrients like biotin, vitamin E, and omega-3 fatty acids for healthy nails.
Can beginners follow these nail art tutorials?
Absolutely! Our nail art tutorials cater to all skill levels, including beginners. Each tutorial provides step-by-step guidance and tips to help beginners master various techniques and create stunning designs effortlessly.
Do I need special tools for nail art tutorials?
While having dedicated nail art tools can enhance your designs, many tutorials can be adapted using basic household items like toothpicks, tape, or brushes. Investing in some essential tools like dotting tools and nail art brushes can elevate your nail art game.
How can I make my nail art last longer?
To extend the lifespan of your nail art, remember to apply a quality top coat to seal and protect your design. Additionally, avoid exposing your nails to harsh chemicals and wear gloves when doing chores to prevent chipping.
What if I make mistakes during the nail art process?
Mistakes happen, but they can often be corrected easily. Keep a small brush dipped in nail polish remover handy to clean up smudges or imperfections. You can also turn mistakes into design elements or cover them with glitter.
Are there specific techniques for creating 3D nail art designs?
Creating 3D nail art designs involves techniques like using nail glue to attach gems or textured powders to add dimension. Exploring tutorials focused on 3D elements will guide you through the process of incorporating these eye-catching details into your nail art.


